Don't Waste Paper This Earth Day, Sign Documents Right on Your iPhone
We don't need to bring ink and paper into this.


- Apple software beta tester, "Helps make our computers and phones work!" - Zach's grandparents

Apple has introduced a lot of useful iPhone features with iOS 17 and its updates, like Podcast transcripts and the Journal app. You may not know that in 2015, Apple released iOS 9 with a feature called Markup that makes it easy to sign certain documents, like PDFs and screenshots, right from your iPhone; no paper required.
"With Markup, you can edit screenshots and photos, select different opacity and font thickness, and even add a signature to a PDF document," Apple wrote online. That means you don't have to print out a document to sign it, saving you money on printer ink, which can cost up to $60 per cartridge.
Here's how to sign certain documents right on your iPhone.
Easily sign a document on your iPhone
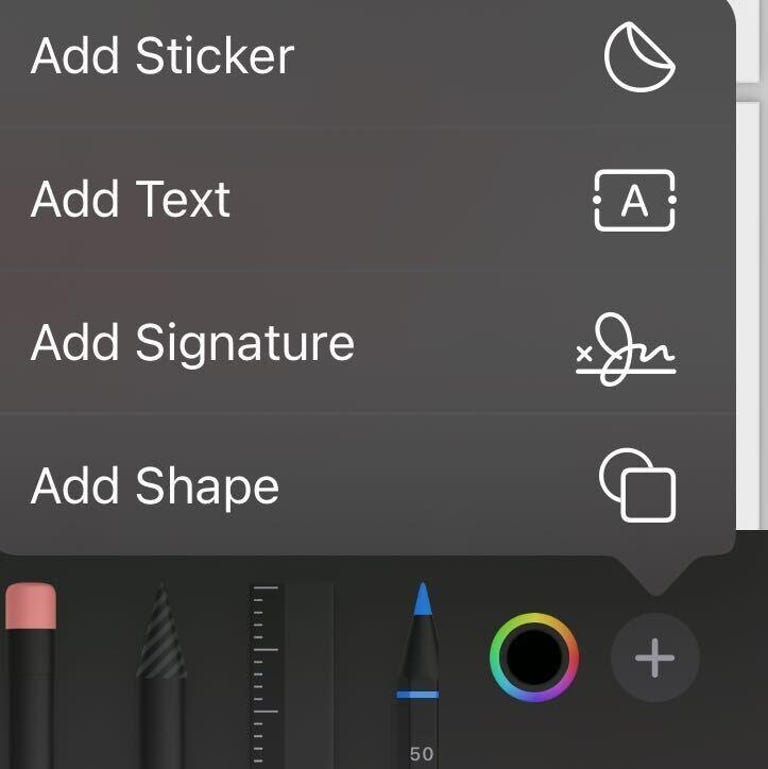
I guess you could also add a sticker to your business document if you wanted.
If the document you want to sign is in an email, first save it to Files. Here's how you sign it from there.
1. Open Files.
2. Tap the document you want to sign.
3. Tap the icon across the bottom of your screen that looks like a pen tip in a circle.
4. Tap Add Signature.
5. Sign your name on this new screen with your finger then tap Done.
Your signature will appear on the page, and you can place it wherever you want. You can also resize your signature if it's too small or large for the signing area. Once you've moved and resized your signature, tap Done in the top-right corner of the document to save it.
Your signature will also be saved on your iPhone and can be used later. To use a saved signature, follow the above instructions and tap Add Signature, then select your previous signature, or you can tap Add or Remove Signature to create a new one.

It's not pretty, but that is indeed a signature.
Once you've signed and saved the file, you can attach it to an email or send it however you want. Congratulations! You just saved yourself money on printer ink and potentially a run to an office supply store.
For more iOS news, here's what could be coming to your iPhone in iOS 17.5 and what was included in iOS 17.4. You can also check out our iOS 17 cheat sheet.
